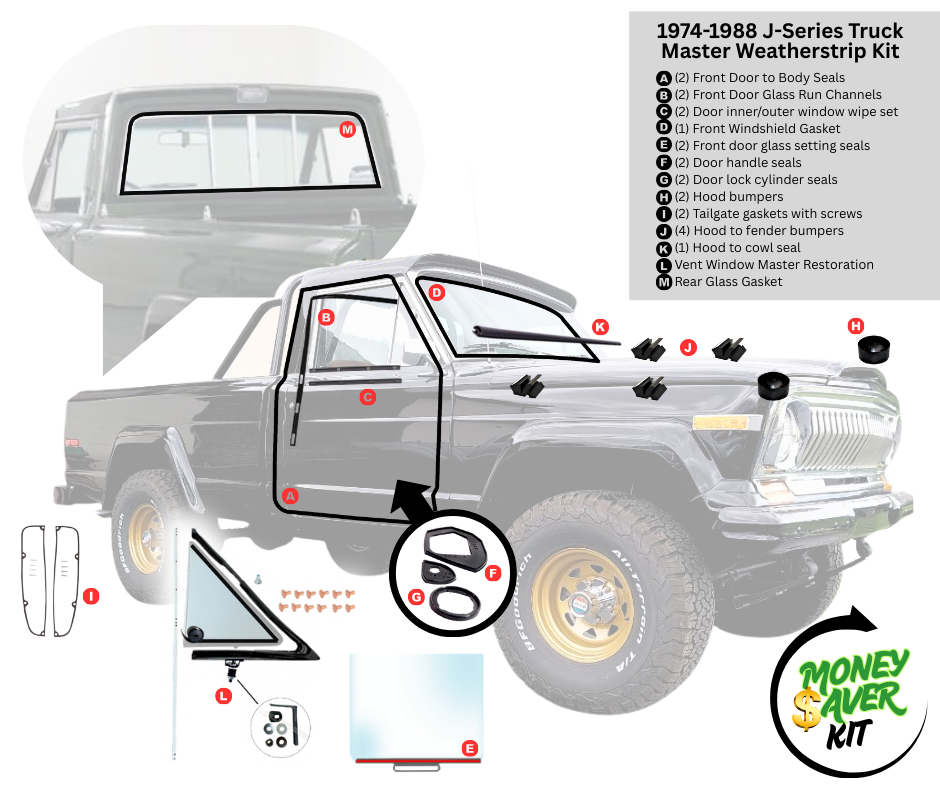
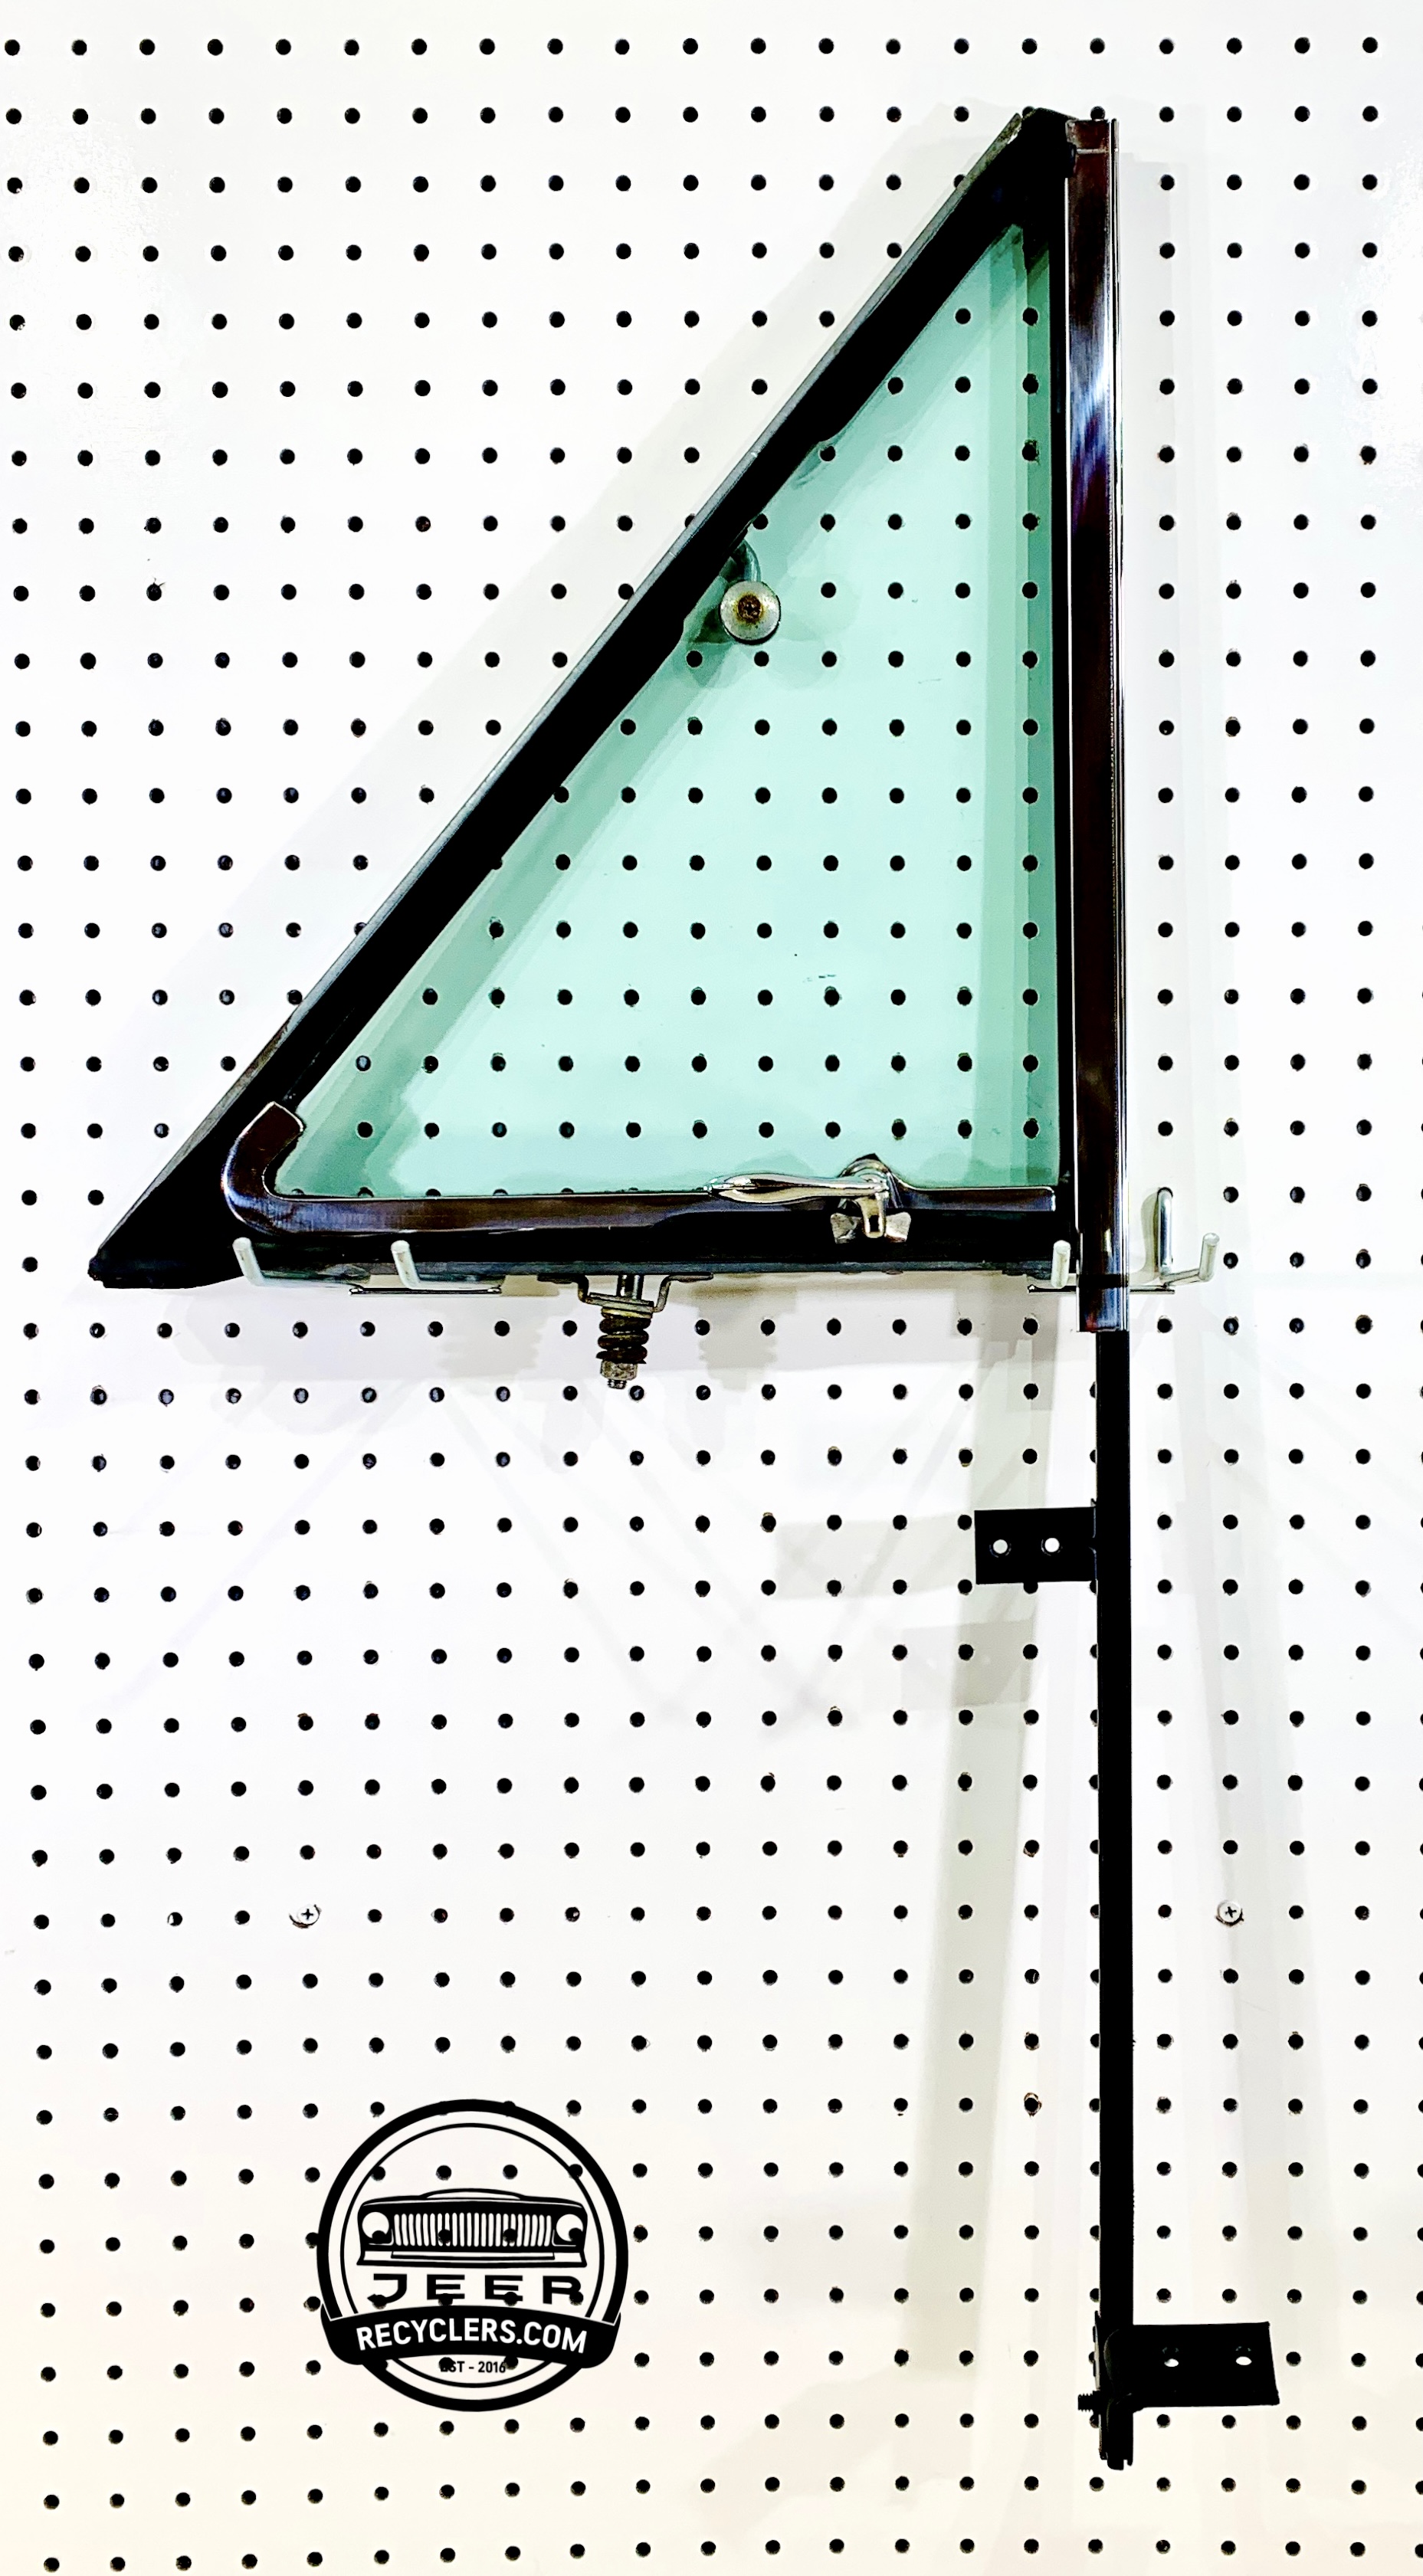
Ready to restore those leaking or rattling vent windows? You'll need our exclusive all-in-one Vent Window Master Restoration Kit—specifically assembled for 1963-1978 Wagoneer, Cherokee, and J-series trucks! This kit provides the key parts needed to do the job right while eliminating the guesswork of figuring out all the pieces you need individually.
Rivets & Rivet Gun:
The rivets in this master restoration kit are OEM factory style and require the use of a rivot gun. We use and only recommend the Hanson Rivet Gun along with required tubular roll squeezer dieto complete this job (sold separately). This gun is specific to the types of rivets included in this kit and has the correct reach for your vent windows.
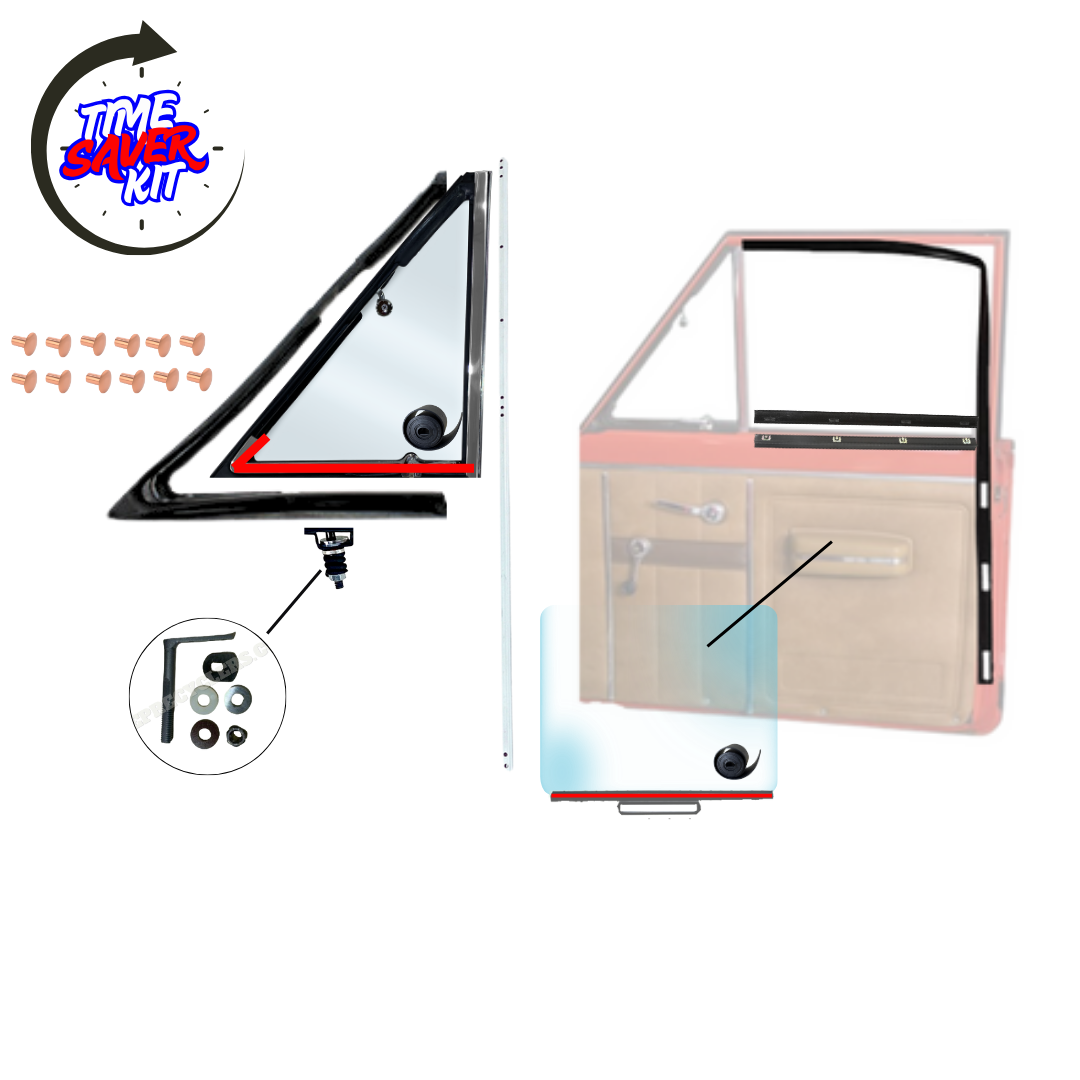
This Time Saver Kit includes:
- (1) Vent window glass setting seal: Sits between the glass and frame. NO additional adhesive required
- (12) Vent window frame rivets (Factory OEM style hollow-body rivets)
- (1) JeepRecyclers.com Glass Pivot Assembly Replacement
- NEW Pivot Pen
- NEW Pivot Pen Rivets
- NEW Laser Cut Stainless Steel Limiting Washer
- NEW Laser Cut Stainless Steel Bottom Washer
- NEW Phenolic Washer
- NEW Pivot Nut
- Does not include pivot spring
- (1) Division Bar Channel
- (1) Vent Window Gasket
- *New window glass is not included
These kits are side specific, choose either driver side, passenger side, or both driver/passenger side options from the drop down menu above.
Fits:
- 1965-1978 Wagoneer
- 1974-1978 Cherokee
- 1965-1978 J-Series Truck
- These WILL fit 1963-1964 models; however, slight trimming of the outer weatherstrip seal near the point using a Dremel tool will be required for proper fitment.
Glass Setting Tape Instructions:
1. Wrap the Setting Tape
Apply the setting tape evenly around the entire perimeter of the glass, gently pressing it into place as you go. Avoid stretching the tape.
2. Folding at Corners
At corners, the tape may bunch or wrinkle. For a smooth fit:
- Press the tape firmly into the corner to follow the glass contour.
- Create a small fold (“pleat”) by tucking excess tape flat against the glass.
- Trim away extra material at the fold with a sharp razor blade or hobby knife. Be careful not to cut into the glass or leave gaps.
3. Kerosene Pro Tip
Lightly moisten the tape with kerosene (K-1 heater or lamp oil) before installing the glass into the frame. This softens the tape and makes it easier to conform to corners and install. As the kerosene evaporates, the tape swells and creates a tight seal in the channel.
4. Trim Excess Tape After Installation
Once the glass is fully installed in the frame, you’ll often find extra tape sticking out beyond the channel edge.
- Carefully trim the excess tape flush with the frame using a plastic razor blade or trim tool.
- Using a plastic blade helps prevent accidental scratches or chips in the glass.
- Double-check for any bumps or uneven areas and trim as needed for a clean, professional look.
5. Allow the Assembly to Set in Heat
For the best bond, let the finished assembly sit in a warm area (such as a sunny window or heated room) for several hours or overnight. Warm temperatures help the setting tape “relax” and conform tightly to both the glass and the channel, ensuring a secure, long-lasting fit. This step can also help speed up the evaporation of kerosene.


