Adhere your vent window, tailgate, and manual door window glass back into your frames and lifter channels with ease using this high-quality glass setting tape—designed specifically for all Full Size 1963–1989 2 Door Cherokees and Wagoneers with manual windows.
These seals sit between your glass and channel and help adhere the glass to the channel. Over time, factory window seals can dry out, shrink, or crack, causing window rattles, leaks, and loose glass in the frame. This glass setting tape kit delivers a snug, weatherproof fit for your vent window and door glass, preventing annoying movement, stopping water leaks, and restoring the solid feel of a properly finished window.
Choose the correct year/glass thickness from the pull-down menu above to ensure you receive the correct length and thickness for your vent window glass.
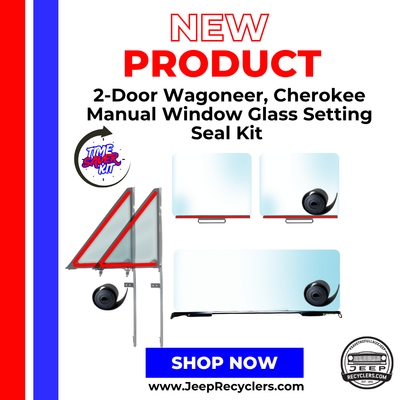
This Time Saver Kit includes:
- (2) Vent Window Glass Setting Seals (sits between glass and frame)
- (2) Door Window Glass Setting Seals (sits between glass and lifter channel)
- (1) Tailgate Window Lifter Setting Seal (sits between glass and lifter channel)
NO additional adhesive required with these seals!
Fits All with Manual Windows:
- 1963-1967 2 Door Wagoneer
- 1974-1983 2 Door Cherokee
Instructions:
1. Wrap the Setting Tape
Apply the setting tape evenly around the entire perimeter of the glass, gently pressing it into place as you go. Avoid stretching the tape.
2. Folding at Corners
At corners, the tape may bunch or wrinkle. For a smooth fit:
- Press the tape firmly into the corner to follow the glass contour.
- Create a small fold (“pleat”) by tucking excess tape flat against the glass.
- Trim away extra material at the fold with a sharp razor blade or hobby knife. Be careful not to cut into the glass or leave gaps.
3. Kerosene Pro Tip
Lightly moisten the tape with kerosene (K-1 heater or lamp oil) before installing the glass into the frame. This softens the tape and makes it easier to conform to corners and install. As the kerosene evaporates, the tape swells and creates a tight seal in the channel.
4. Trim Excess Tape After Installation
Once the glass is fully installed in the frame, you’ll often find extra tape sticking out beyond the channel edge.
- Carefully trim the excess tape flush with the frame using a plastic razor blade or trim tool.
- Using a plastic blade helps prevent accidental scratches or chips in the glass.
- Double-check for any bumps or uneven areas and trim as needed for a clean, professional look.
5. Allow the Assembly to Set in Heat
For the best bond, let the finished assembly sit in a warm area (such as a sunny window or heated room) for several hours or overnight. Warm temperatures help the setting tape “relax” and conform tightly to both the glass and the channel, ensuring a secure, long-lasting fit. This step can also help speed up the evaporation of kerosene.